What is Variation in SharePoint 2013?Variations feature provides multi-lingual support for SharePoint 2013 sites. It help us to manage multilingual sites by making the same content available to specific language audiences across different sites by maintaining customizable copies of the content from the source variation in each target variation. A variation consists of a set of labels (sub-sites: Each site for one variation) that is used to create a set of sites in a site collection. For example, if you want four language variations of your site, you must create four labels, one for each language.
Important: Variations feature relies on "SharePoint Server Publishing feature", So it works only on Publishing site template or sites with publishing feature activated!
Configure variation in SharePoint 2013:Configuring variations in SharePoint 2013 is quite a easy task, just follow below steps:
Info: SharePoint 2013 Variation feature content synchronization is a unidirectional process! It syncs content from a source variation site to one or more target variation sites
Set variations settings:To setup variation in SharePoint 2013, start with specifying settings for Variations.
Go to Site Settings >> Site Collection Administration >> Click on "Variations Settings "to set variations
settings. These settings are self-explanatory:
- Create Everywhere - Selected by default, this means any content created in source label will propagate to all target variations. Sync will happen automatically
- Create Selectively - Variation should be triggered manually
- Recreate Deleted Target Page - Page should be re-created on a target variation site if the page was deleted
- Update Target Page Web Parts - Source web part changes updated to the target sites
- Notification - Email to label contact person
These settings can be changed if needed, otherwise leave all settings to default and click OK.
Create variation label SharePoint 2013:After configuring variation settings, proceed with creating variation labels. The very first variation label you are creating will be the "Source Variation" site. In our case, its English, Lets create it.
- Language: This setting defines SharePoint User interface elements of the variation site. Choices appear on the site template language drop-down depends on the language packs installed.
- Locale: Locale determines the language site based on your browser settings. It automatically redirects the browser from Variation home to target variation site. Locale helps in creating content in different languages.
- Variation Home: is the location site where sub sites for all labels will be created
- Specify the Label Name for source variation and choose Publishing site template as "Publishing site".
- Click "OK" button to create source variation.
Now the source variation has been created. Proceed with creating target variation(s).
Create variation Target Labels:Lets create target variation for "Arabic" site. Go to Site settings >> Click on "Variation Label" >> Click on "New Label". This time, You'll get a wizard for creating target variations.
- On "Configure Your Target Label" page, Select the Site Template Language. This depends on language packs you deployed to the SharePoint server. E.g Install Arabic language pack if you want to configure variation for Arabic & to choose Arabic as as a site template language! Select locale for target variation, and then click on "Continue" button.
- Run through the wizard to create a new target variation. Choose Translation options. I have selected "Allow Human and Machine translation" and selected target language as "Arabic".
![create variation in sharepoint 2013]()
- Choose the Target label behavior. I've selected the option to push content updates automatically from source label to target label
![language variation in sharepoint 2013]()
- Name your Target label.
![Setup Variation Settings]()
- Review and Click on Finish to complete target variation label creation.
![variation set up sharepoint 2013]()
Create Variations Hierarchy:Once you are done with creating labels, each label should create a variation sub-site! Click on "Create Hierarchies" link from Variation labels page in site settings, that will invoke the timer job "Variations Create Hierarchies Job Definition". This timer job will be run based on its schedule.
If the hierarchies created successfully, you can see it in the variation labels listing as below.
Once variation Hierarchy is created, "Hierarchy is Created" status on Variation Label page will change to "Yes" and sites are created successfully, ready to browse!
SharePoint 2013 variation hierarchy not created?Well, the timer job runs once per hour, and you got to wait! If you don't want to wait, just trigger "Variations Create Hierarchies Job Definition" on-demand. Here is how:
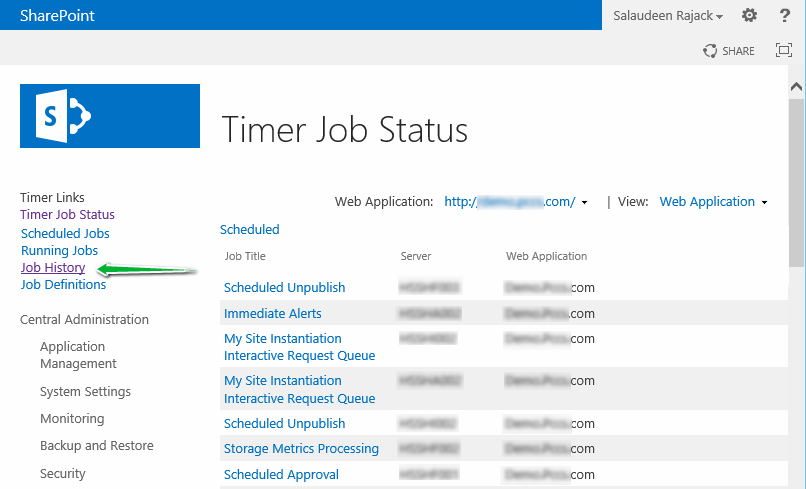
- Navigate to SharePoint 2013 Central Administration
- Click on: Monitoring >> Review job definitions under Timer Jobs
- Pick your web application and click on "Variations Create Hierarchies Job Definition" timer job
- Click on "Run Now" to run this timer job.
If required, you can change the schedule to run shorter time period
too.
SharePoint 2013 Variation Timer Jobs:Here is the list of timer jobs involved in variations feature in SharePoint:
- Variations Create Hierarchies Job Definition: Creates all variation sites, lists and pages from the source variation site. It runs hourly.
- Variations Propagate List Items Job Definition: Creates and updates list items on target variation Default, every 15 minutes.
- Variations Propagate Page Job Definition: Creates and updates pages on target variation after approved. Runs every 15 minutes.
- Variations Propagate Sites and Lists Job Definition: Creates variation sites and lists when the "Create Everywhere" option is enabled. Runs on every 30 minutes.
Here is the snapshot from SharePoint 2013 Central Administration Timer Job definitions page:
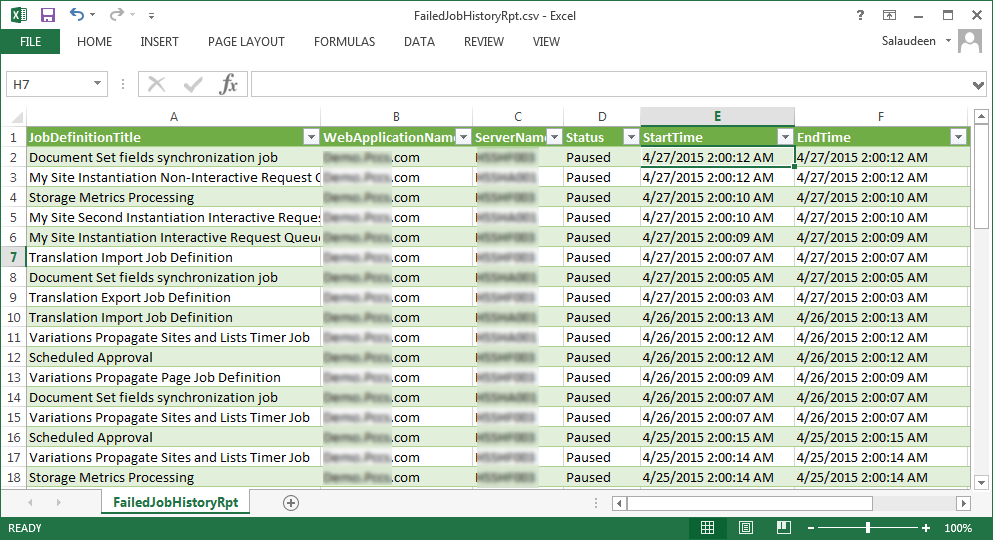
Variation Logs in SharePoint 2013:During the variation process, there are several timer jobs run. All activities related to this process are logged and collected under Variation logs to provide details in troubleshooting any variation related issue such as Hierarchy creation, Page propagation, etc.
Variation logs are located under root site collection's settings page.
- Site Settings >> Site Collection Administration >> Variation logs
How to test variation feature:Once you hit variation home, It goes to the variation site based on your browser language settings. E.g. When you hit
http://portal.crescent.com, It goes to
http://portal.crescent.com/english if your browser language is set to English.
How does variations feature works in SharePoint 2013?So, How does it works? Well, When you create new pages or update existing pages on source variation site, Target variation(s) automatically updated in draft mode. They'll go live in target variations when published!
Syncing Custom list and Libraries in Variation:By default custom lists are libraries are not synced from source to destination. It needs to be manually triggered. Here is how:
- Go to any custom list or library in source variation site
- Click on Variations Tab >> Click on Settings
- Select Variation labels (sites) to sync and click "Continue". You'll get "Your new variations are on the way" message.
- Once done, The particular list will be propagated on selected targets.
Technet Reference
Variations overview in SharePoint Server 2013![]()