Creating SharePoint 2016 farm using PowerShell is almost as same as in its previous version. In SharePoint 2016 there is an additional parameter -LocalServerRole added as SharePoint 2016 introduced MinRoles.
Pre-Requisites:
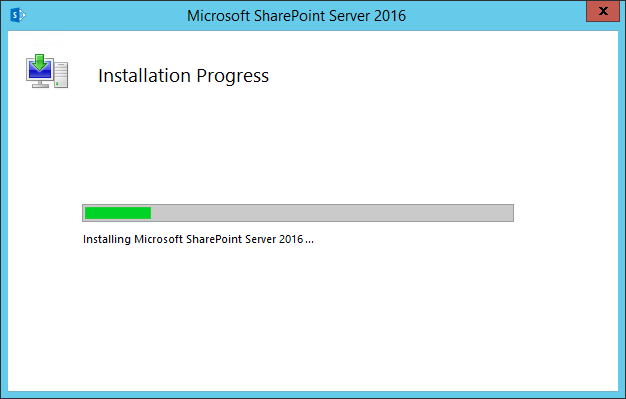
Step 1: Install SharePoint 2016 prerequisites and binaries to each server in your proposed SharePoint 2016 farm.
On completing the installation, Uncheck "Run the SharePoint Products Configuration Wizard now" and close the wizard.
Step 2: PowerShell Script to Create SharePoint 2016 Farm:
Save the below script as "Create-Farm.ps1" or something like that, change the configuration settings parameters as per your environment. Open SharePoint 2016 Management Shell as Administrator, and run the script. You'll see
"The local farm is not accessible. Cmdlets with FeatureDependencyId are not registered." error for the first time, which is quite normal, since we have not created the Farm yet! proceed running the script.
Add Additional Servers to the SharePoint 2016 Farm:
Once you are done with the creation of the SharePoint 2016 farm from first server, You can connect rest of the servers to the Farm either using SharePoint products configuration wizard or with PowerShell.
Open SharePoint products configuration wizard and choose "Connect to an existing server farm" and run through the wizard! Select the server MinRole as per your topology.
Join Additional Server to the SharePoint 2016 farm using PowerShell:
If you prefer PowerShell way to add an additional server to the farm, use this PowerShell script.
Clik here to view.![]()
Pre-Requisites:
- SQL Server is already installed and ready to use.
- You have created a Farm account for SharePoint 2016.
- You have logged in to the server (Setup account) which has Administrator access on all SharePoint servers and DB_Creator, Security_Admin Server roles in SQL Server.
Step 1: Install SharePoint 2016 prerequisites and binaries to each server in your proposed SharePoint 2016 farm.
On completing the installation, Uncheck "Run the SharePoint Products Configuration Wizard now" and close the wizard.
Step 2: PowerShell Script to Create SharePoint 2016 Farm:
Save the below script as "Create-Farm.ps1" or something like that, change the configuration settings parameters as per your environment. Open SharePoint 2016 Management Shell as Administrator, and run the script. You'll see
"The local farm is not accessible. Cmdlets with FeatureDependencyId are not registered." error for the first time, which is quite normal, since we have not created the Farm yet! proceed running the script.
#Configuration SettingsOnce the script completed successfully, You'll see farm created successfully message. Here I've used "SingleServer" as MinRole. You can adjust it based on your requirement.
$DatabaseServer = "SP16-SQL"
$ConfigDatabase = "Intranet_Farm_Config"
$AdminContentDB = "Intranet_Farm_Content_Admin"
$Passphrase = "2FJlsXghFsas5vdJJKEXXwWF"
$FarmAccountName = "Crescent\Sp2016admin"
$ServerRole="SingleServerFarm"
#Get the Farm Account Credentials
$FarmAccount = Get-Credential $FarmAccountName
$Passphrase = (ConvertTo-SecureString $Passphrase -AsPlainText -force)
#Create SharePoint Farm
Write-Host "Creating Configuration Database and Central Admin Content Database..."
New-SPConfigurationDatabase -DatabaseServer $DatabaseServer -DatabaseName $ConfigDatabase -AdministrationContentDatabaseName $AdminContentDB -Passphrase $Passphrase -FarmCredentials $FarmAccount -LocalServerRole $ServerRole
$Farm = Get-SPFarm -ErrorAction SilentlyContinue -ErrorVariable err
if ($Farm -ne $null)
{
Write-Host "Installing SharePoint Resources..."
Initialize-SPResourceSecurity
Write-Host "Installing Farm Services ..."
Install-SPService
Write-Host "Installing SharePoint Features..."
Install-SPFeature -AllExistingFeatures
Write-Host "Creating Central Administration..."
New-SPCentralAdministration -Port 2016 -WindowsAuthProvider NTLM
Write-Host "Installing Help..."
Install-SPHelpCollection -All
Write-Host "Installing Application Content..."
Install-SPApplicationContent
Write-Host "SharePoint 2016 Farm Created Successfully!"
}
Add Additional Servers to the SharePoint 2016 Farm:
Once you are done with the creation of the SharePoint 2016 farm from first server, You can connect rest of the servers to the Farm either using SharePoint products configuration wizard or with PowerShell.
Open SharePoint products configuration wizard and choose "Connect to an existing server farm" and run through the wizard! Select the server MinRole as per your topology.
Join Additional Server to the SharePoint 2016 farm using PowerShell:
If you prefer PowerShell way to add an additional server to the farm, use this PowerShell script.
$ServerRole="Application"
#"Custom","WebFrontEnd","Application","DistributedCache","SingleServerFarm","Search","ApplicationWithSearch","WebFrontEndWithDistributedCache"

Connect-SPConfigurationDatabase -DatabaseServer $DBServer -DatabaseName $DBName -PassPhrase $SecurePassPhrase -LocalServerRole $ServerRole

Write-Host "Installing SharePoint Resources..."
Initialize-SPResourceSecurity

Write-Host "Installing Farm Services ..."
Install-SPService

Write-Host "Installing SharePoint Features..."
Install-SPFeature -AllExistingFeatures

Write-Host "Installing Help..."
Install-SPHelpCollection -All

Write-Host "Installing Application Content..."
Install-SPApplicationContent

Write-Host "Joined the Server to Farm Successfully!"
If you don't want the server to host Distributed cache, use the parameter: -SkipRegisterAsDistributedCacheHost and the end!
Related post: How to Create SharePoint 2013 farm using PowerShellImage may be NSFW.Clik here to view.


