SharePoint 2013 enterprise edition offers Excel Services service application that enables browser-based rendering of Excel workbooks. Not just for rendering, but its primary used in business intelligence scenarios for its excel calculation & analysis capabilities, ability to query external data sources, etc. Lets walk-through the steps of configuring Excel Services to SharePoint Server 2013 farm.
How to Configure Excel Services in SharePoint 2013:
Here are the steps in high-level to configure Excel Services
Step 1: Start Excel Calculation Services Service Instance:
Excel Services application relays on excel calculation service. To start the excel calculation service, Navigate to
Step 2: Create Excel Services Service Application
Here is how to create new "Excel services" service application
Step 3: Grant Database access to "Excel Services" Service Application's service account.
The Excel Services application pool account must be granted access to SharePoint content databases. This can be done either by directly from SQL Server management studio or with PowerShell.
Grant Database access to Excel Services Application Pool account with PowerShell:
Which grants "SPDataAccess" Membership roles on all content databases of the Web Application to the Service Application App Pool account! Please note, You must rerun these cmdlets, If you add new content databases in future!
Step 4: Suppress Office Web Apps to enable Excel services
If office web apps is enabled for your SharePoint environment, You must suppress it for Excel files in order to enable Excel services. Run these cmdlets to suppress Excel Office Web Application.
Step 5: Configure Trusted File Locations
The final step to complete configuring Excel services is to add trusted file location. Here is how:
So now, we've finished configuring Excel Services for SharePoint 2013. Lets test it out.
Clik here to view.![]()
How to Configure Excel Services in SharePoint 2013:
Here are the steps in high-level to configure Excel Services
- Start Excel Calculation Services Service Instance
- Create Excel Services Service Application
- Grant Database Access to Excel services service Account
- Suppress Office Web Apps to enable Excel services
- Configure trusted file location.
Prerequisites - We need a managed account for Excel Services service application. Create a new managed account if you don't have one configured already!. Configuring Managed Accounts in SharePoint 2013
Step 1: Start Excel Calculation Services Service Instance:
Excel Services application relays on excel calculation service. To start the excel calculation service, Navigate to
- Central Administration >> System Settings >> Manage Services on server
- Select the server where you want to start the Excel Services. Typically, this will be one of your application server. You can run it on multiple servers for better performance and availability.
- In the services list, Click on "Start" link next to "Excel calculation services"

Step 2: Create Excel Services Service Application
Here is how to create new "Excel services" service application
- Go to Central Administration >> Application Management >> Manage service applications
- Click "New" button and select "Excel Services Application"Image may be NSFW.
Clik here to view.
- Enter the Name of your excel service application in create new excel service application page.
- Select "Create new application pool" option, enter the application pool name.
- Select the "Configurable" option and specify the service account to run the application pool. This will be a managed account registered already in your farm.
- Remember to Select "Add this service application's proxy to the farm's default proxy list."
- Click on "OK" button to create new excel services service application.Image may be NSFW.
Clik here to view.


Step 3: Grant Database access to "Excel Services" Service Application's service account.
The Excel Services application pool account must be granted access to SharePoint content databases. This can be done either by directly from SQL Server management studio or with PowerShell.
Grant Database access to Excel Services Application Pool account with PowerShell:
$WebApp = Get-SPWebApplication "http://intranet.crescent.com"

$WebApp.GrantAccesstoProcessIdentity("Crescent\SP13_ServiceApps")
Which grants "SPDataAccess" Membership roles on all content databases of the Web Application to the Service Application App Pool account! Please note, You must rerun these cmdlets, If you add new content databases in future!
Step 4: Suppress Office Web Apps to enable Excel services
If office web apps is enabled for your SharePoint environment, You must suppress it for Excel files in order to enable Excel services. Run these cmdlets to suppress Excel Office Web Application.
New-SPWOPISuppressionSetting -Extension "XLSX" -Action "view"From now on, opening any Excel file in SharePoint should launch Excel Services, instead of Excel Web Apps. Watch out the URL when you launch any Excel file from SharePoint. It should be something like "/_layouts/15/xlviewer.aspx" Instead of "/_layouts/15/WopiFrame.aspx"
New-SPWOPISuppressionSetting -Extension "XLS" -Action "view"
#To Check current suppression settings: Get-SPWOPISuppressionSetting
#To Revert : Remove-SPWOPISuppressionSetting -Extension "XLSX" -Action "view"
#Remove-SPWOPISuppressionSetting -Extension "XLS" -Action "view"
Step 5: Configure Trusted File Locations
The final step to complete configuring Excel services is to add trusted file location. Here is how:
- Navigate to Central Administration >> Application management >> Click on "Manage Service Applications" link
- In the Manage service applications page, click on the Excel Services service application that we created.
- From "Manage Excel Services Application" page, click on "Trusted File Locations" link.
- Click on "Add Trusted File Location". In the Address column, Enter the URL of your SharePoint Site/Library. Set other options accordingly.
- Click "OK" to save your changes.

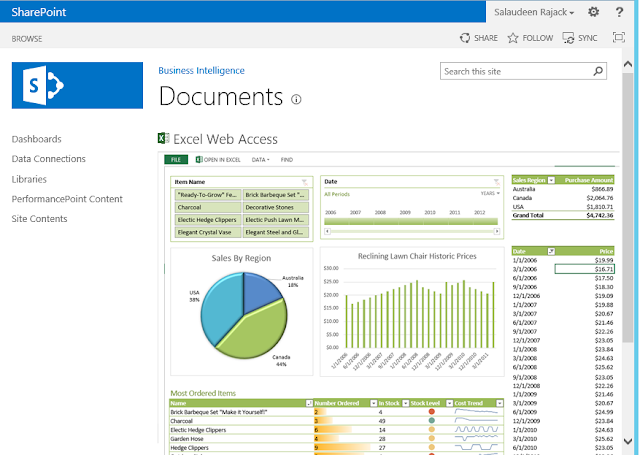
So now, we've finished configuring Excel Services for SharePoint 2013. Lets test it out.
- Go to any of your SharePoint site with "Enterprise Features" turned ON. Click on "Edit page" from Site Actions gear.
- Click on Insert >> Web part >> Select "Excel Web Access" web part.
- Set the web part properties to fetch any Excel file from SharePoint document library location.
- Save and Publish the page. You should see the Excel file rendering in the web part.
Clik here to view.